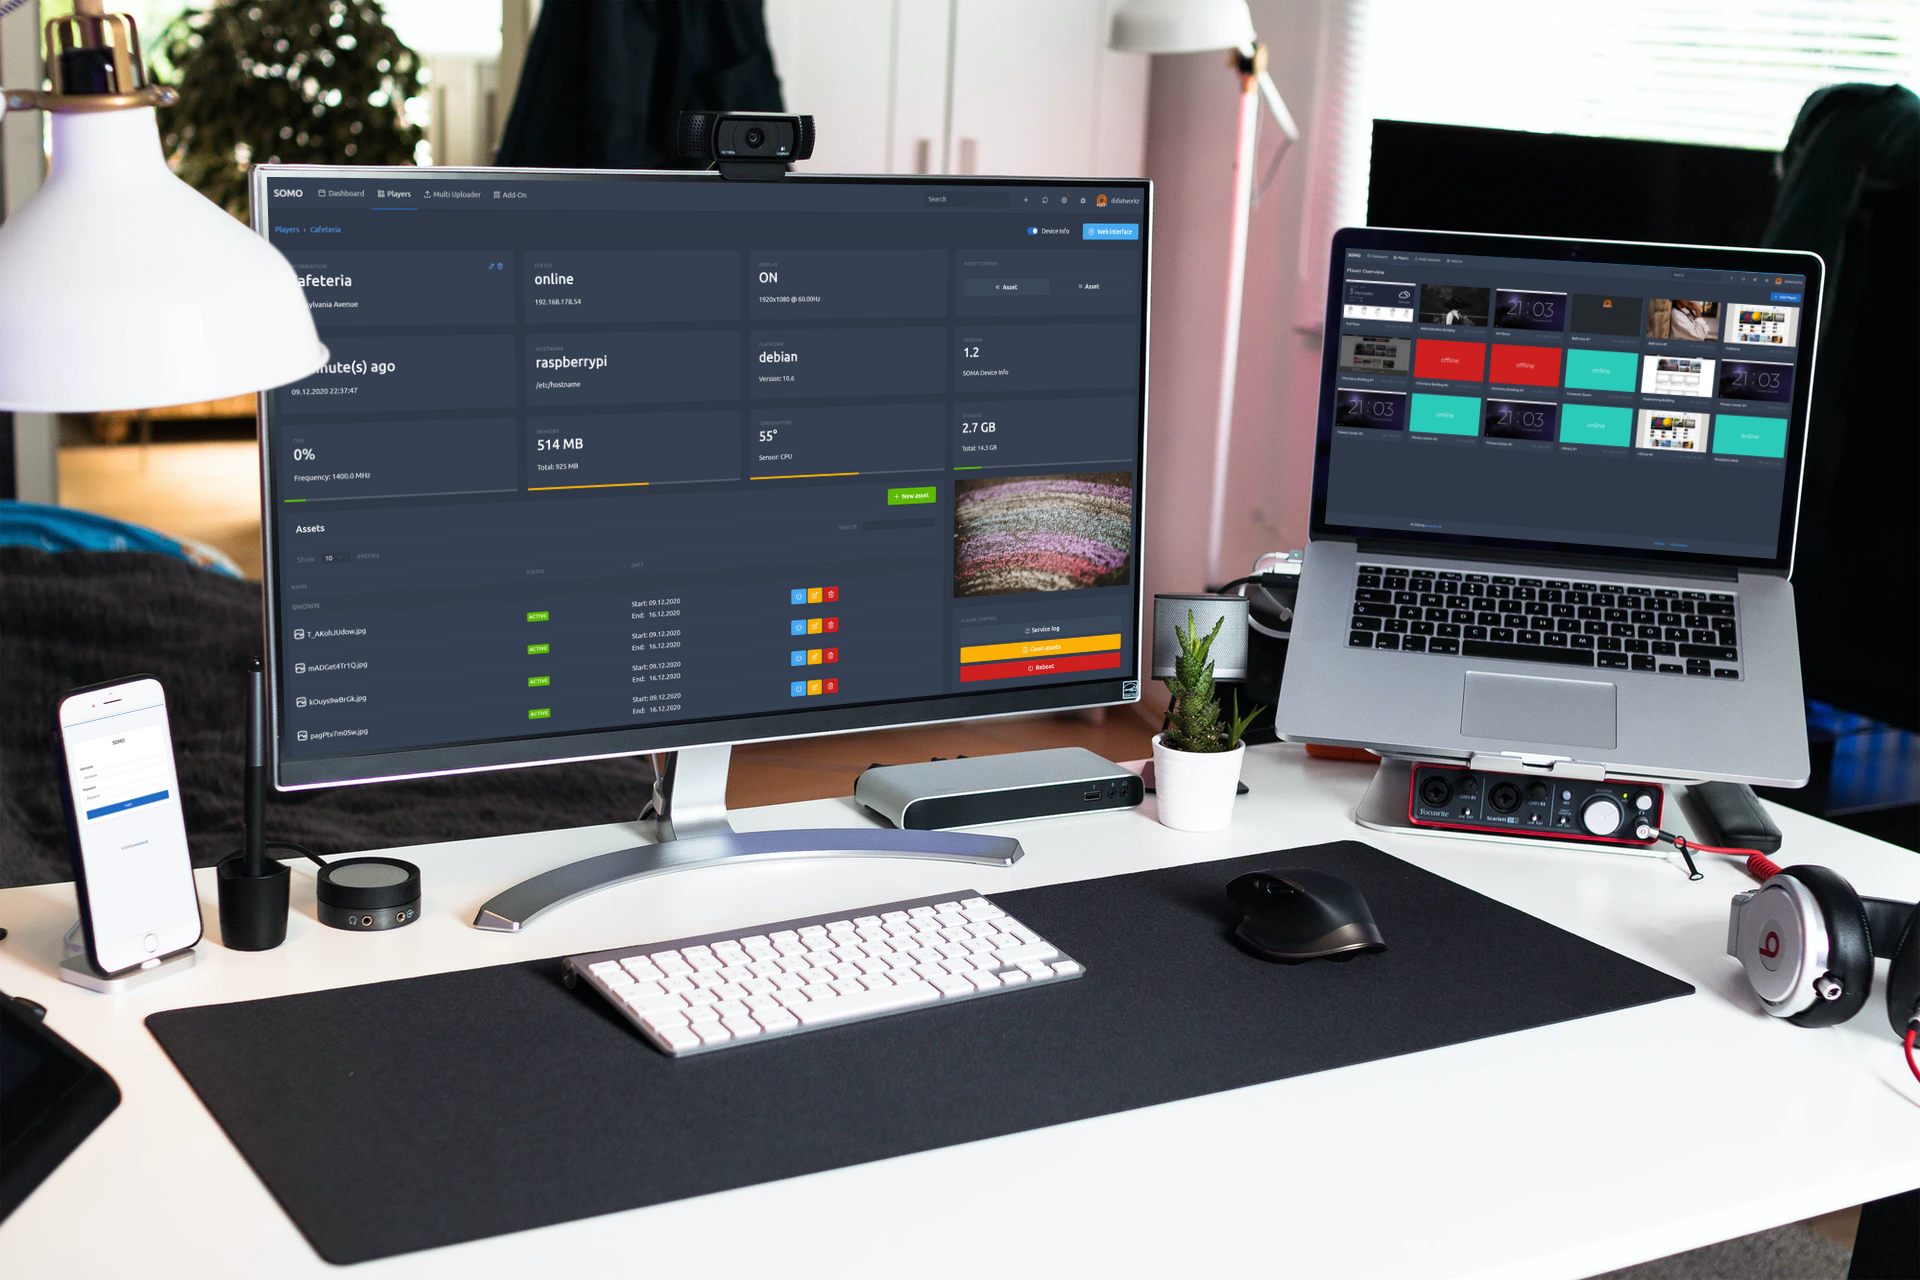
Screenly OSE Monitoring is a web-based application that is simultaneously installed on a Screenly OSE Player or as standalone solution.
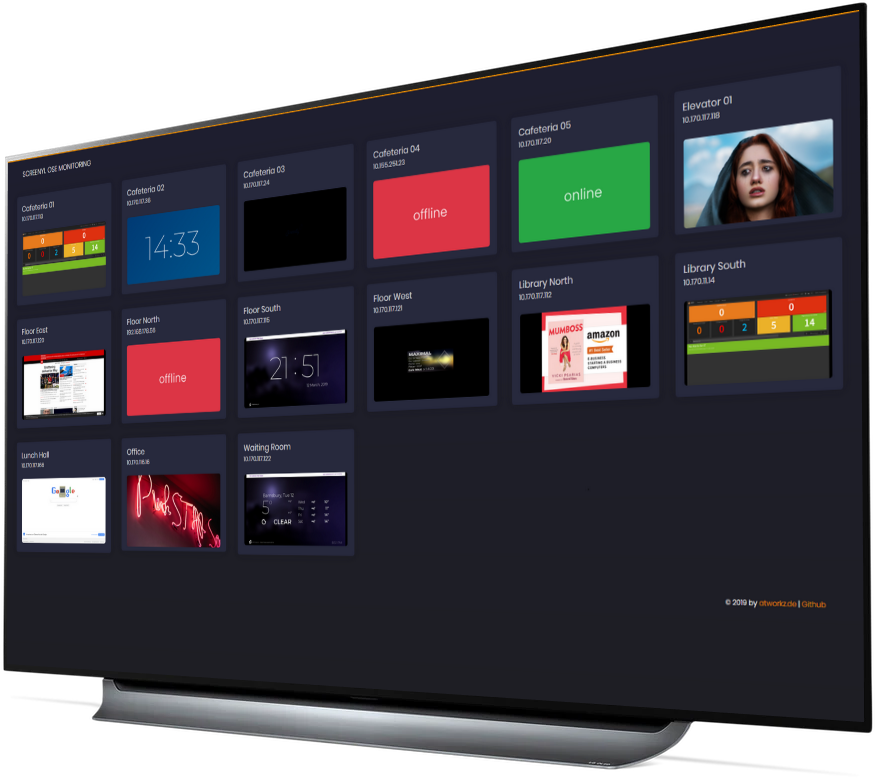
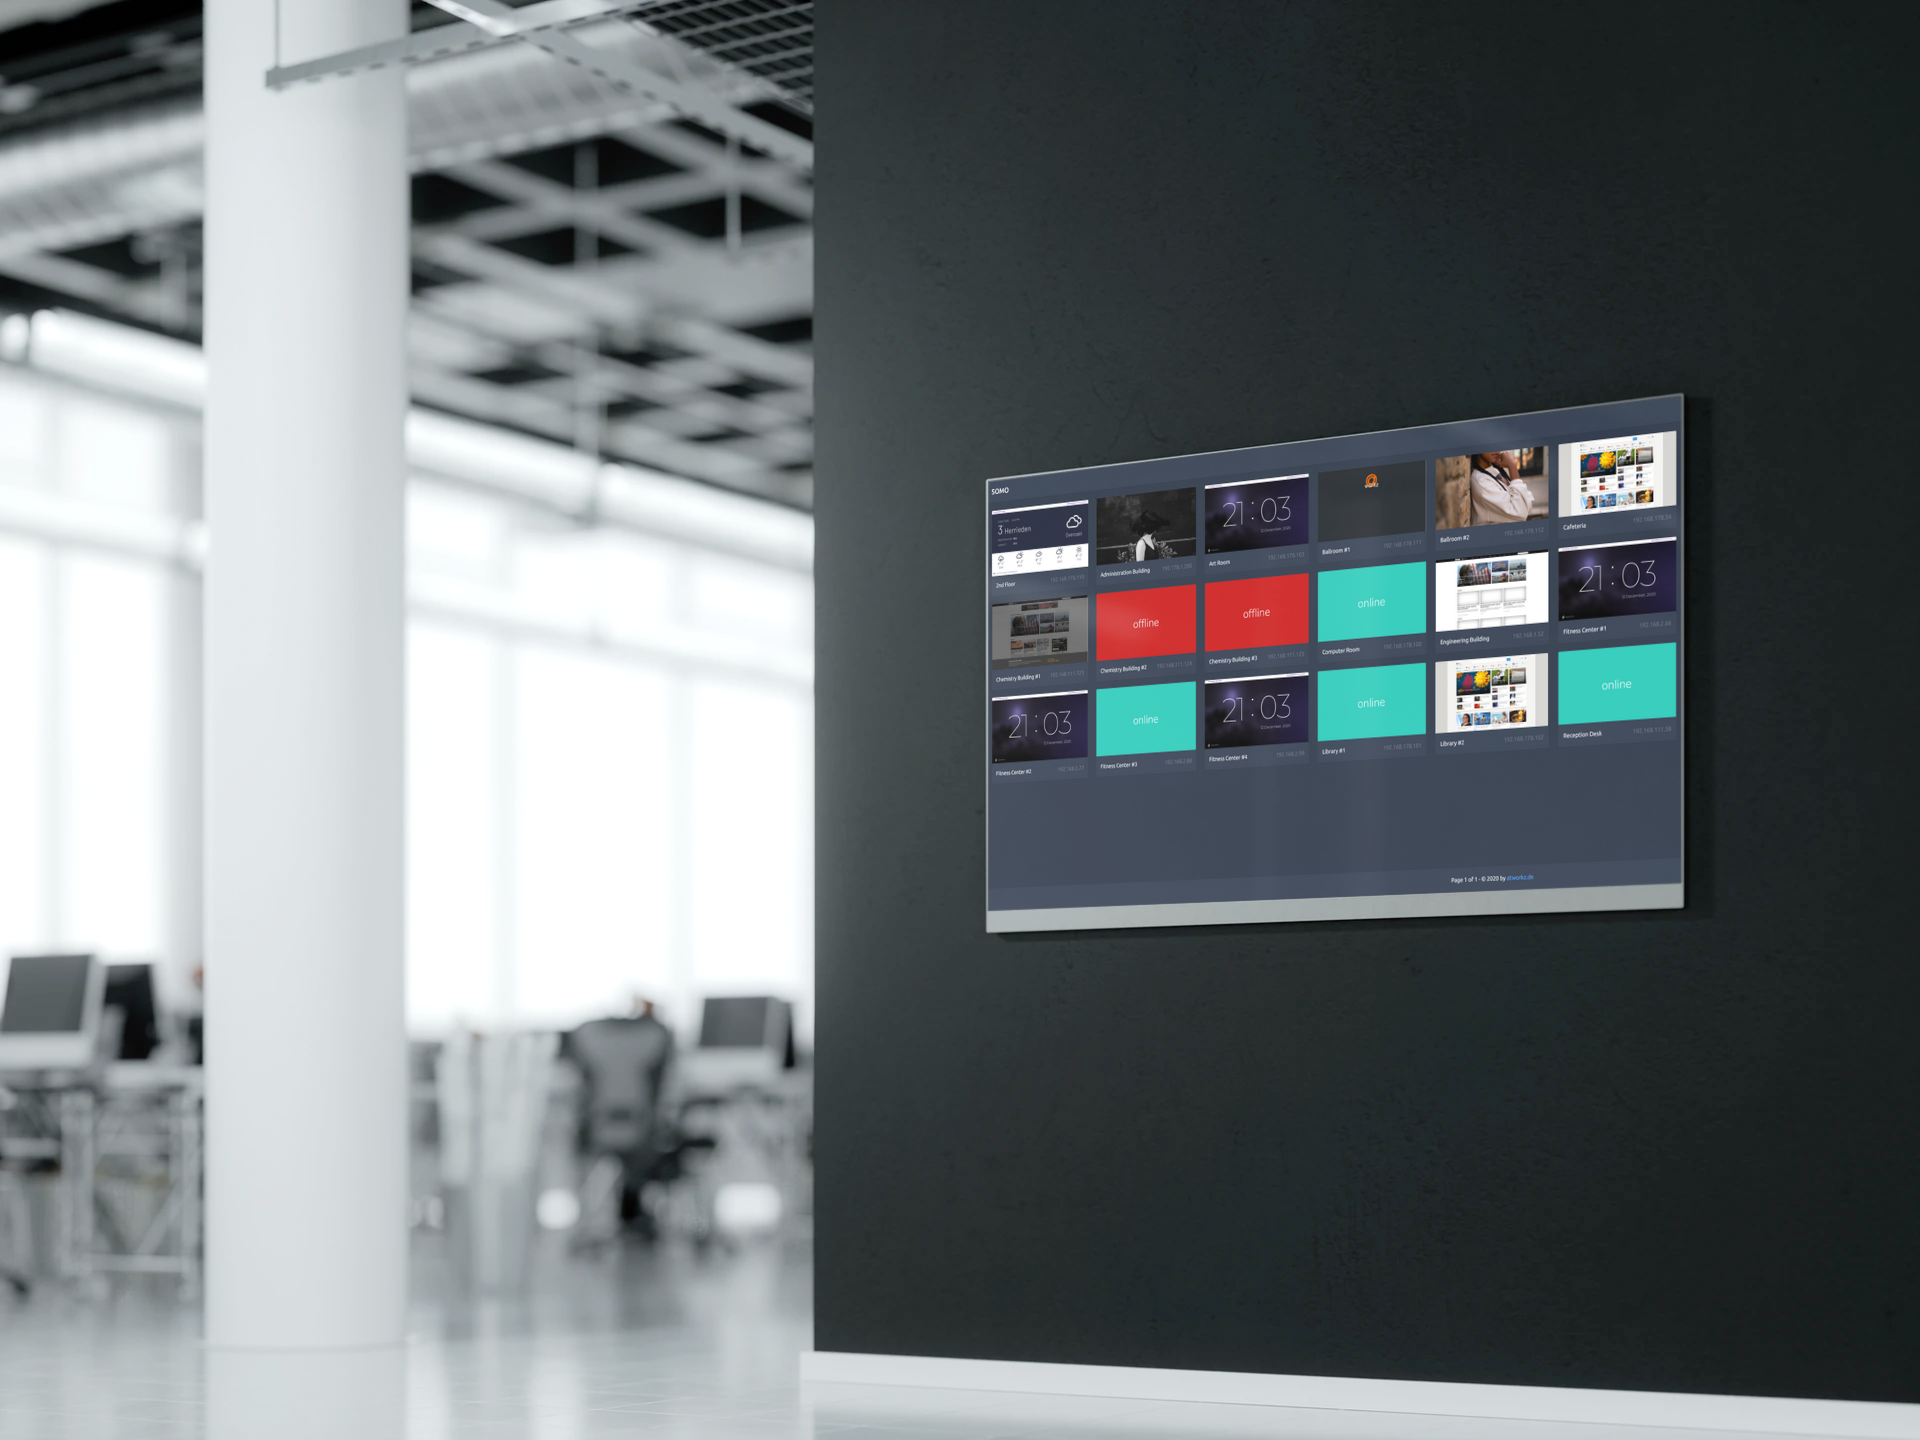
With this tool, you can manage multiple OSE players in one interface.
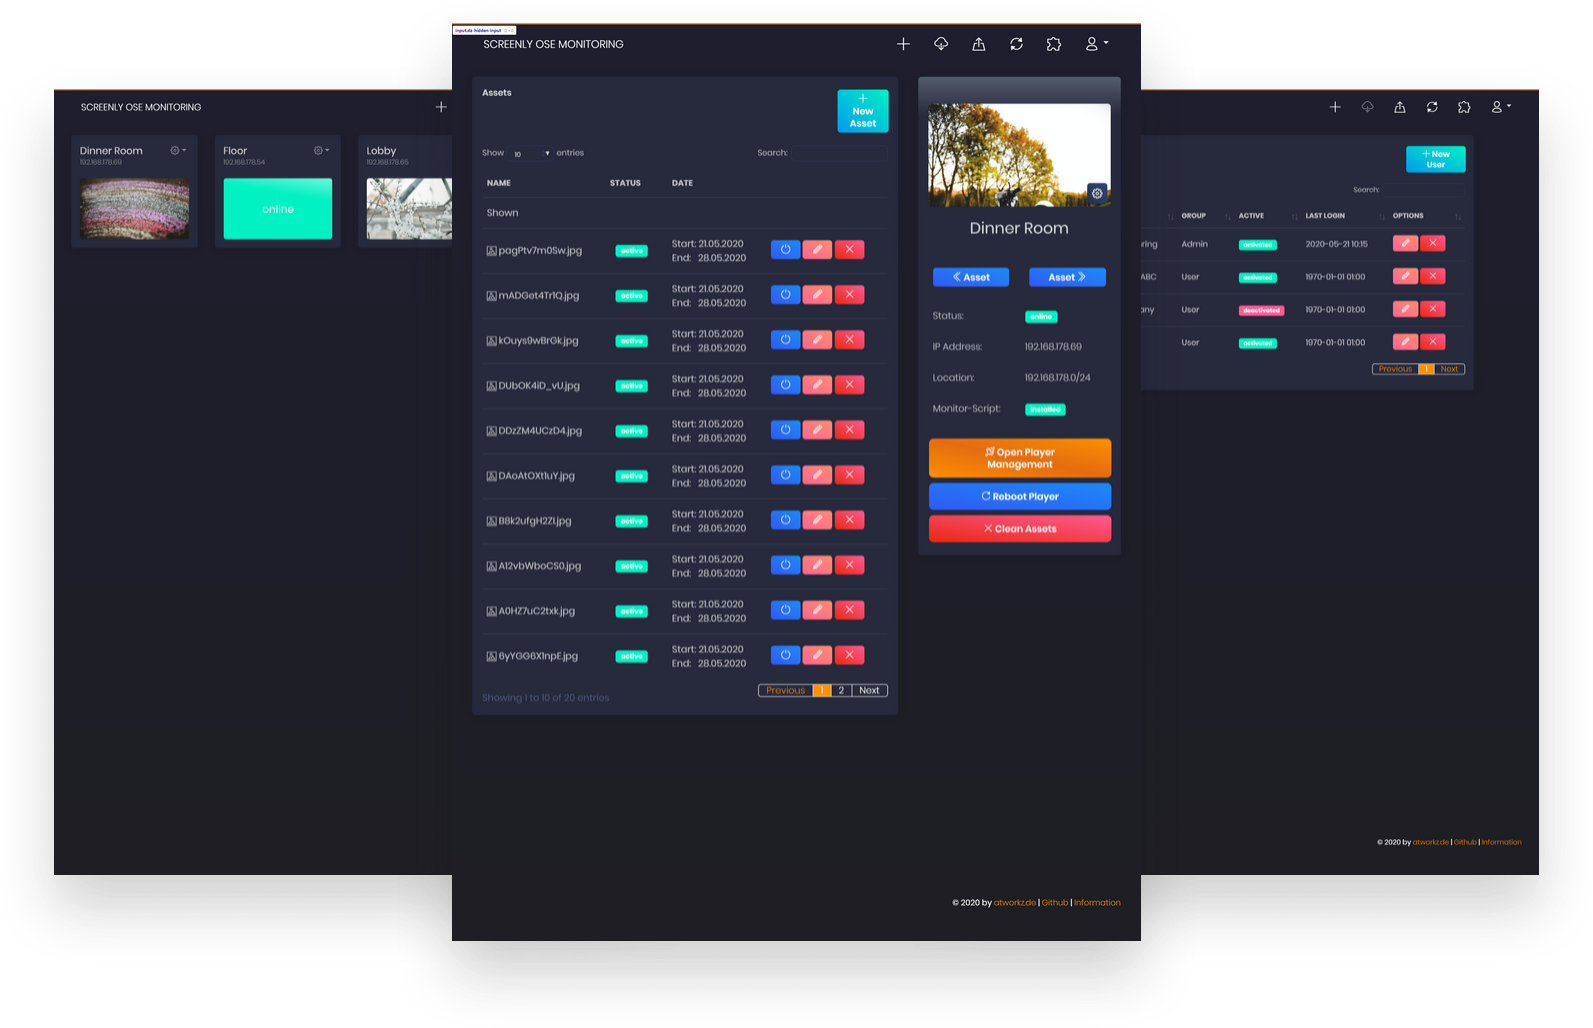
In addition to its current display status, you can also manage the assets of a player. It is possible to activate or deactivate assets, add new ones, edit or simply delete them all from the player.
By installing an add-on on each player, it is also possible to display a "live feed" of the player's HDMI output. This will then be displayed in the overview, as well.
- Easy administration
- User management
- Simple overview of all players with status
- Add / Edit / Remove / Order / Control Assets
- Auto discovery of players
- Responsive Design
- Public access to integrate in Monitoring tools
- Add-on for displaying the player’s output remotely
No errors were found in the tests. If you find a problem or bug, please report it:
Open Issue List
- RaspberryPi 3B+
- Raspbian Lite
- PHP 7.x (will be installed)
- SQLite 3.x (will be installed)
- Ansible (will be installed)
IMPORTANT: The monitoring was designed to run on the local network with the Screenly OSE Player. Problems or restrictions may occur if the server is hosted externally or accessed from an external network!
Very simple installation:
- Connect to the player via SSH or terminal ([CTRL]+[ALT]+[F1])
- Copy this line and execute it
bash <(curl -sL https://git.io/fjg7h)- Answer the questions and installation will be start (This may take a while - Don't worry)
- Open your Browser to the IP address of the Raspberry Pi like: http://[screenly-ip-address]:9000
After the installation is the default login:
http://[screenly-ip-address]:9000
Username: demo
Password: demo
For the update you only have to run the installer again. The installer checks if there is an old installation and saves it if necessary. From version 2.0 there are changes to the database structure which is prepared for future updates and no longer needs to be saved.
But please note that the Add-on may have to be reinstalled on the players. (Current for all older versions before version 2.0)
IMPORTANT: If monitoring is installed on a Raspberry Pi that does not have a Screenly OSE Player (standalone installation) the port changes from 9000 to 80. So the monitoring is accessible via the normal IP address!
bash <(curl -sL https://git.io/fjg7h)Link via Monitoring or here:
bash <(curl -sL https://git.io/Jf900)Since version 2.0 there is a small possibility to update or check ose-monitoring via bash. For more info check:
ose-monitoring --helpThere's something else that wasn't answered here? Then just have a look at the wiki-page. Maybe you will find an answer there.
Thanks for using this project!
- didiatworkz
