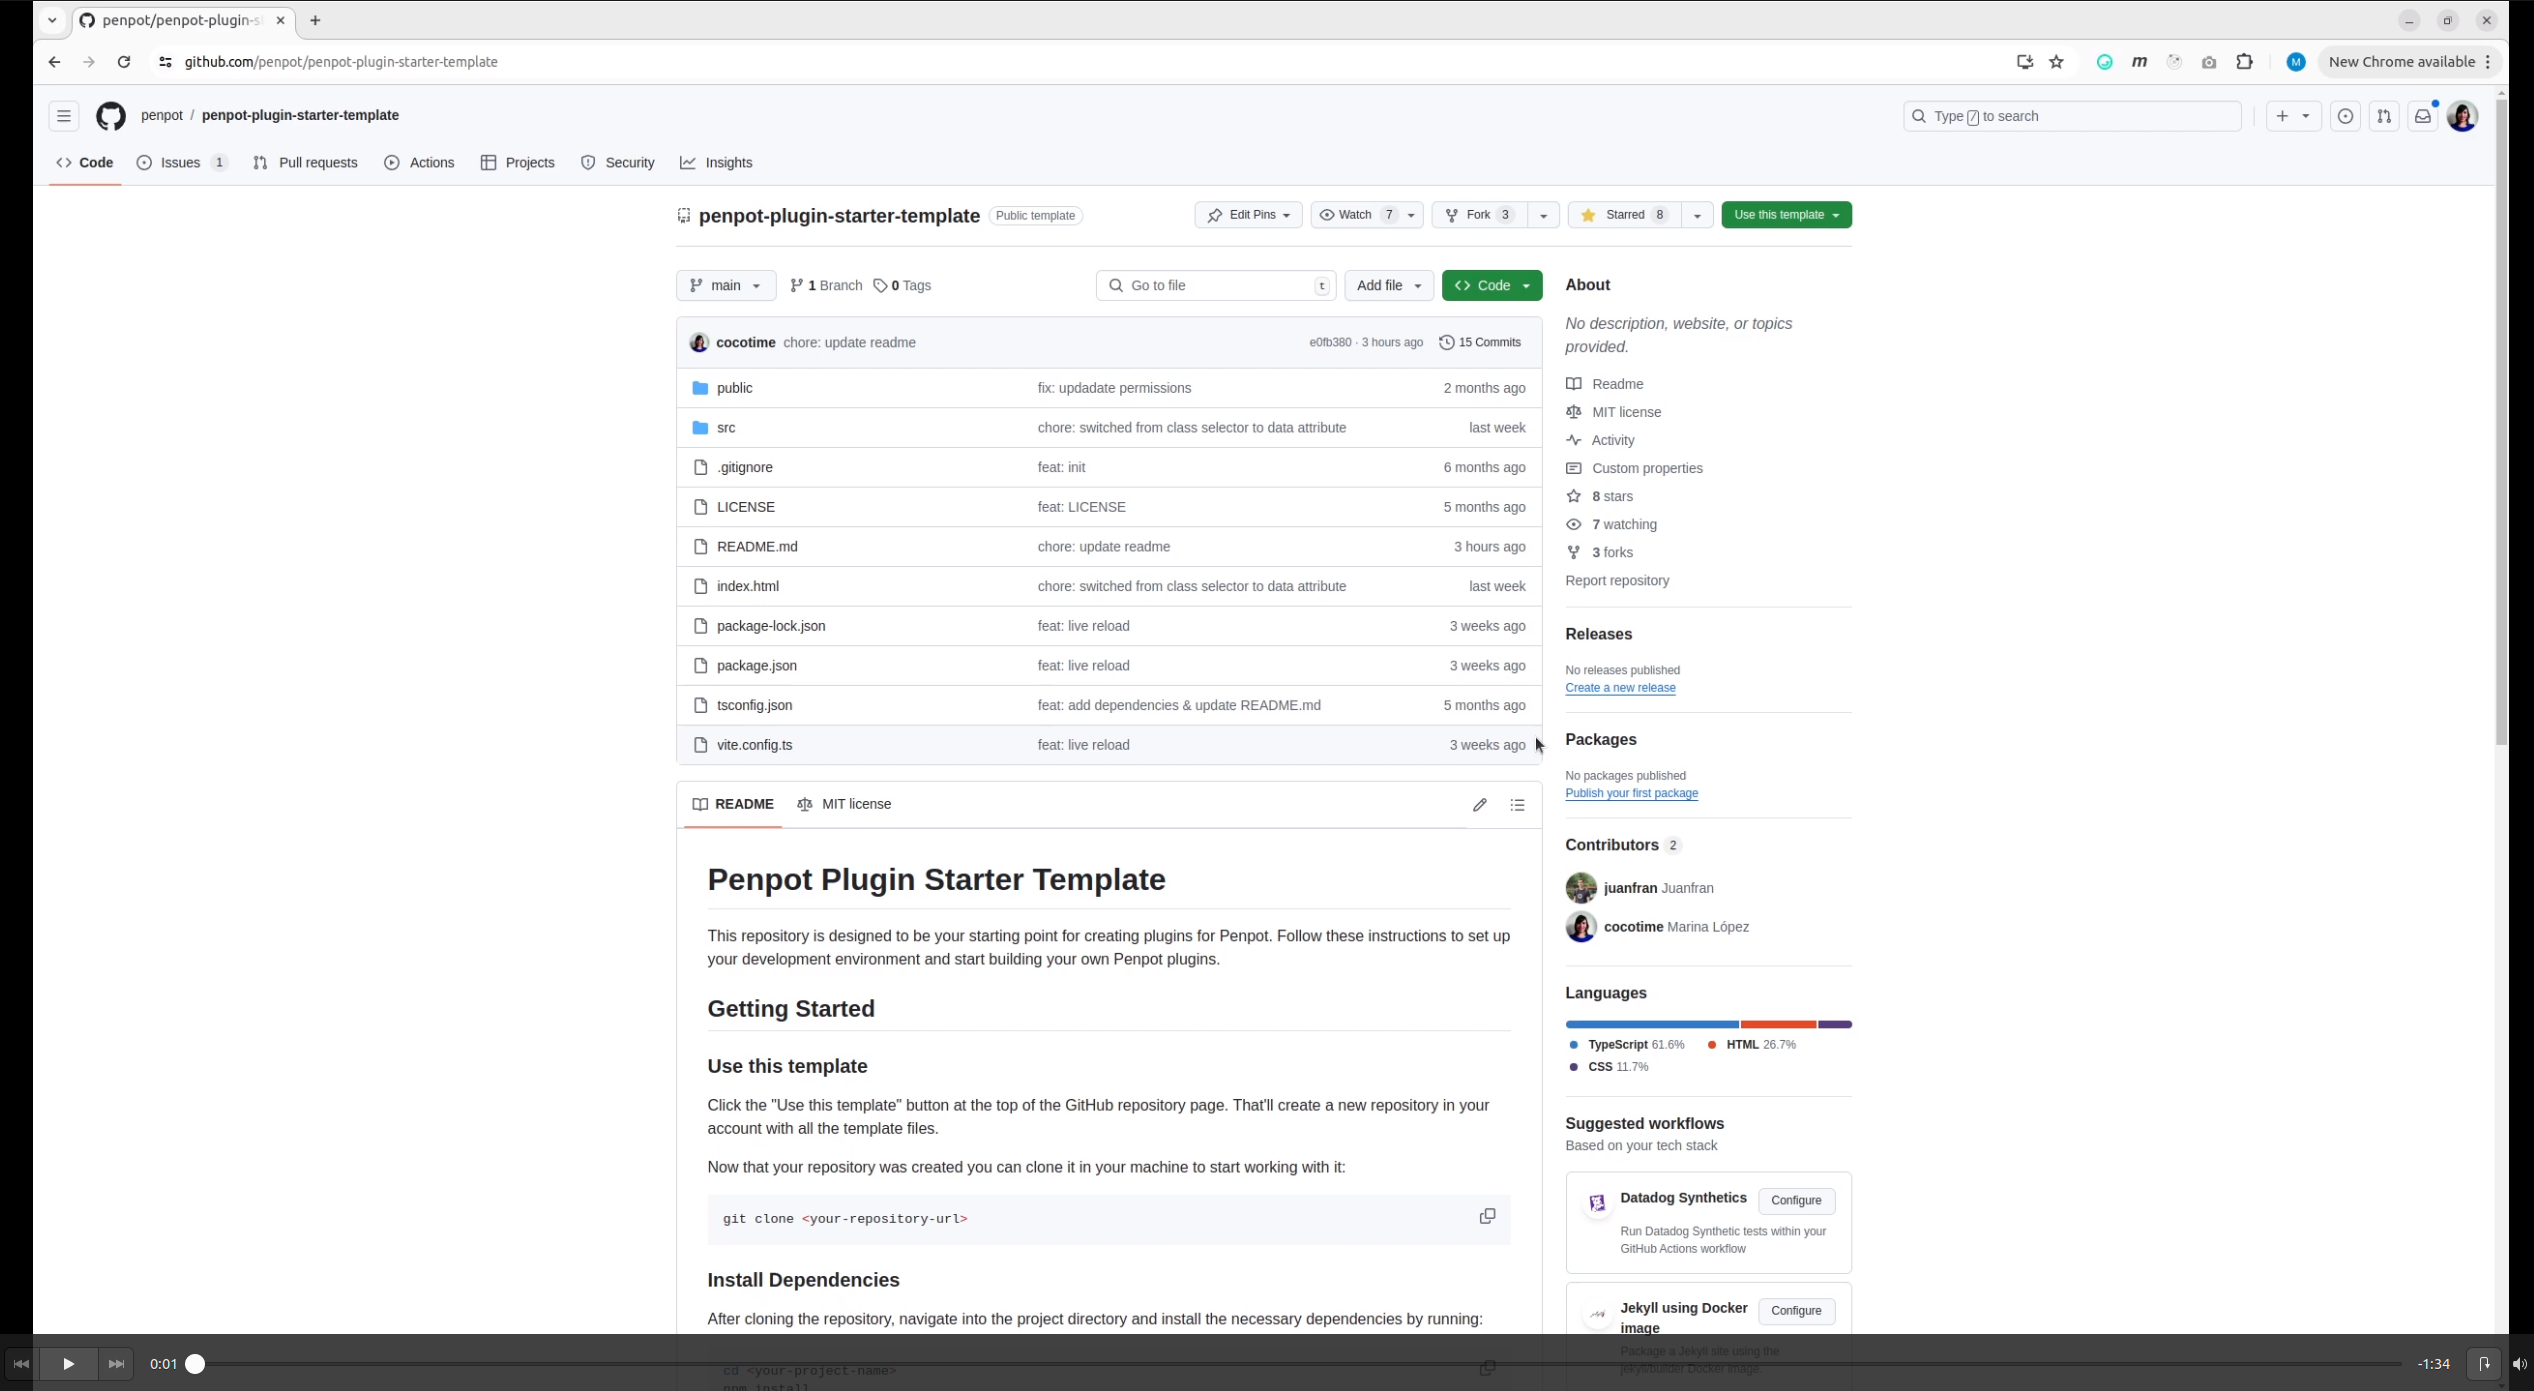
This repository is designed to be your starting point for creating plugins for Penpot. It includes everything you need to get started quickly with development and build processes, so you can focus solely on coding. The template uses Vite as the bundler and comes pre-configured with TypeScript, though you can write your code in vanilla JavaScript if you prefer, while keeping TypeScript to handle Penpot typings in the plugin.ts file.
- Node.js and npm (Download).
- Git (Download).
- Visual Studio Code (Download) or similar.
- Basic HTML, CSS and javascript knowledge.
-
/: the root directory containing important files likeindex.html, the entry point for your plugin, along with configuration files such astsconfig.jsonorpackage.json. -
public/: includes static assets likemanifest.jsonfor plugin metadata. -
src/: contains the core source files for your plugin. -
node_modules/: contains external dependencies used for development, installed via npm. -
dist/: the output directory generated after the build process, containing the production-ready plugin files for deployment.
TypeScript is like JavaScript with extra rules. These rules help you catch mistakes early, before you run your code. It makes your code more reliable and easier to manage, especially in big projects.
We're using TypeScript to make working with the Penpot API easier, as it provides autocompletion and instant access to documentation.
The plugin.ts file is where you write code to interact with the Penpot API using TypeScript. This file is then compiled into plugin.js which is the final JavaScript code that runs the plugin. You don't write plugin.js directly; it's generated from the plugin.ts file.
Note that this is also the only file where you can use the Penpot object. Do not try to use the Penpot object in your plugin interface scripts.
The manifest.json file contains the basic information about the plugin. It defines the plugin's name, description, the main code file, and the permissions it requires. The structure of the manifest.json file looks like this:
{
  "name": "Your plugin name",
  "description": "Your plugin description",
  "code": "plugin-file.js",
  "icon": "your-icon.png",
  "permissions": [
    "content:read",
    "content:write",
    "library:read",
    "library:write",
    "user:read"
  ]
}
This file is essential for the plugin to function correctly within Penpot.
Click the "Use this template" button at the top of the GitHub repository page. That'll create a new repository in your account with all the template files.
Now that your repository was created you can clone it in your machine to start working with it:
git clone <your-repository-url>After cloning the repository, navigate into the project directory and install the necessary dependencies by running:
cd <your-project-name>
npm install
This command installs all the required packages listed in the package.json file.
Next, you need to edit the plugin's configuration file:
- Open the
manifest.jsonfile located in the/publicfolder. - Make any necessary changes to your
plugin.tsfile. Note that any modifications to this file require you to restart the development server for changes to take effect. You can check our repository Penpot plugins samples for specific examples.
To start the development server, run the following command in your terminal:
npm run devOnce the server is running, open your web browser and go to http://localhost:4400 to view your plugin in action. Now it is ready to be loaded in Penpot with the url http://localhost:4400/manifest.json.
To load and test your local plugin running on http://localhost:4400, follow these steps:
-
Open the Plugin Manager: Use the shortcut
Ctrl + Alt + Pin any file to open the Plugin Manager modal. -
Enter the manifest URL: In the Plugin Manager, provide the URL for your local plugin's manifest file. For a local setup, this URL will be:
http://localhost:4400/manifest.json. -
Install the plugin: After entering the URL, Penpot will attempt to install the plugin. If there are no issues, the plugin will be successfully installed.
-
Access the plugin: Once installed, you can open and use the plugin directly from within Penpot whenever you need it.
This plugin template uses several key technologies:
- TypeScript
- Vite
- Web Components
The template includes two Penpot libraries to assist in your development:
@penpot/plugin-styles: This library provides utility functions and resources to help you style your components consistently with Penpot's design system.@penpot/plugin-types: This library includes types and API descriptions for interacting with the Penpot plugin API, facilitating the development of plugins that can communicate effectively with the Penpot app.
npm run buildAfter successfully building your plugin, now you're ready to use your chosen platform to deploy it.
Check our Deployment guide for more information about how to deploy your plugin in multiple platforms.
